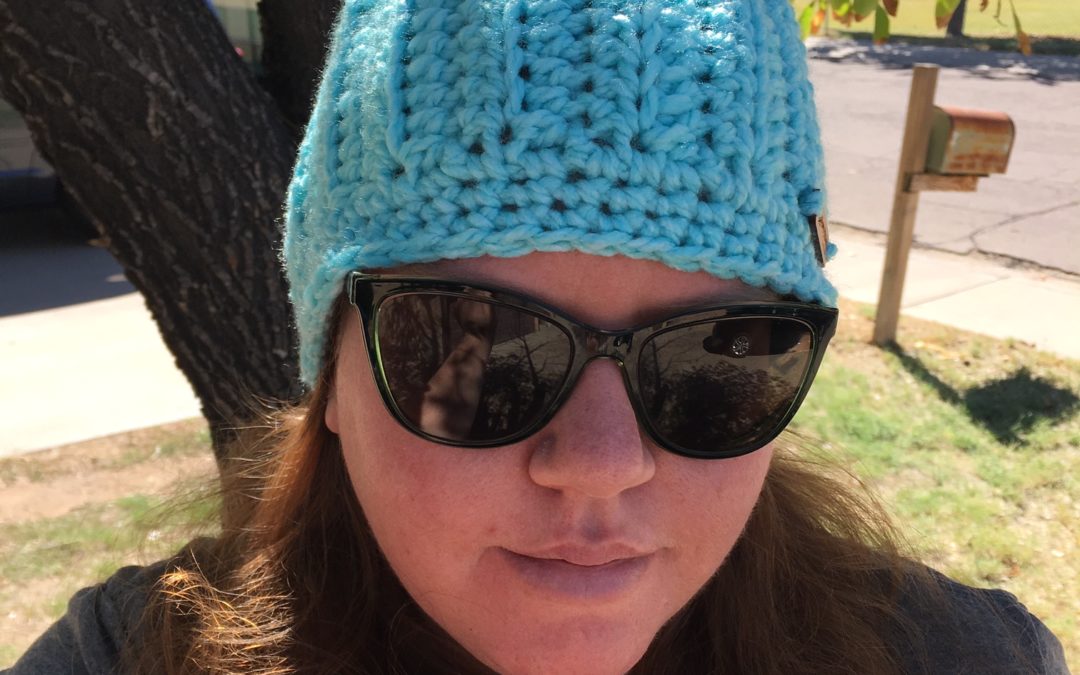
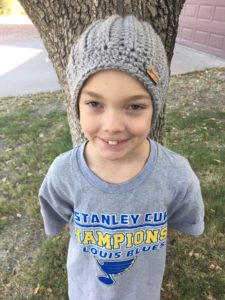
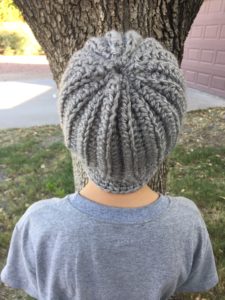
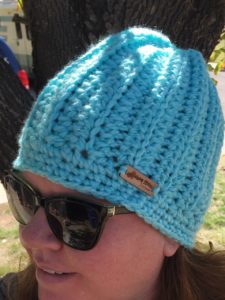
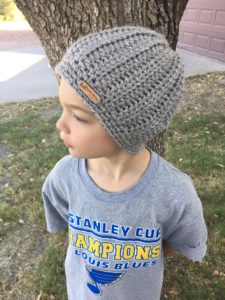
The other day I pulled out a random ball of bulky weight yarn I had laying around and tried to make an ear warmer…well it did not work the way I wanted but my husband suggested I try it as a hat and it worked! Our son came in and saw it, tried it on and said it was awesome. Well the name stuck, so here I am happy to share the Accidentally Awesome Ribbed Beanie. He has since claimed that grey one as his. This hat is a great make for men, women and children. It only takes about an hour and makes a perfect last minute gift idea!!!
To make it taller or shorter simply add or subtract from the starting chain. The chain needs to be 1 inch shorter than desired finished height since the brim adds an inch. To make it fit a bigger or smaller head just add or subtract rows. It’s super easy and beginner friendly, you just need to know how to chain, single crochet, half-double crochet in the back loop and slip stitch.
The printable PDF will be available HERE by 10/25/19 for a small fee.
Thank you for your support and please share photos of your project. I can be found on Instagram, Facebook, and Revelry as Zebra Mom Handmade. If you have any questions or find any errors please email info@zebramomhm.com.
Accidentally Awesome Ribbed Beanie
By: Bethany Pattie
Supplies:
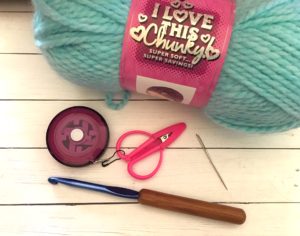
6mm hook
*Bulky yarn (about 109 yards)
*I used I Love This Chunky Yarn but found some colors I had left overs and others I had just enough so you might want to buy two for an adult size. If you get gauge and the full amount of yarn you can make it as written with one ball.
Scissors
Needle to weave in ends
Pompom (optional)
Gauge:
7 rows = 4 inches
11 stiches = 4 inches
18 inches long by 7 inches tall before seeming & 8 inches tall after boarder
Abreviations:
CH= chain
HDC= half double crochet
SLST= slip stitch
SC= single crochet
Pattern:
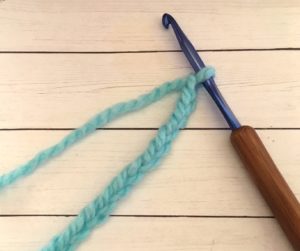
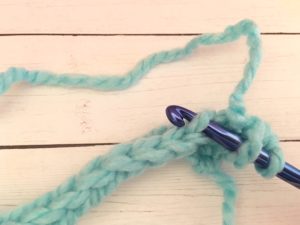
Start: CH 24
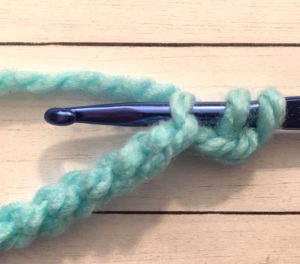
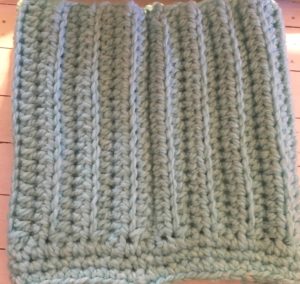
Row 1: in back bump of 3rd CH HDC. HDC in each back bump to end of row. CH 2 and turn. (22 HDC)
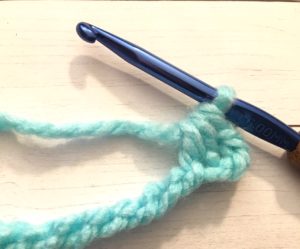
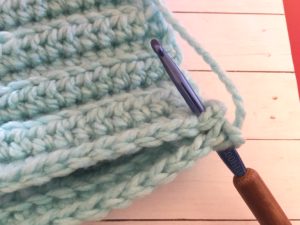
Row 2: HDC in first stitch. HDC in back loop only until one stitch remains. HDC in last stitch. CH 2 and turn.
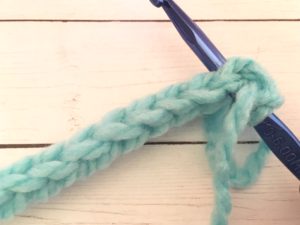
Row 3 – 32: repeat row 2 except at end of row 32 CH 1 not 2.
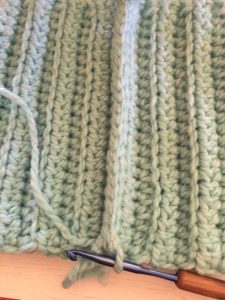
Row 33: bring ends together and loosely SLST to join. Turn piece so seam is inside. CH 1 and rotate to work on side of piece.
(sorry my lighting changed, the color is still the turquoise)
Boarder:
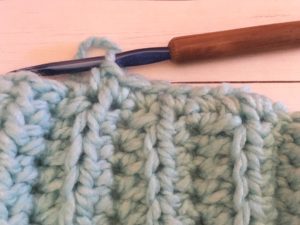
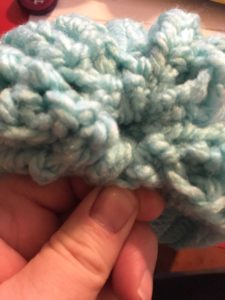
SC about 48 stitches evenly around edge, put stitches in natural openings. You may have more or less SCs, that’s fine, just be sure your piece isn’t pulled in by too few stitches or pushed out by too many. SLST to first SC.
CH 1, do not turn.
For 2 more rows SC in same stitch as SLST and each SC around, joining with a SLST at the end of each row.
Fasten off and weave in ends.
To close top:
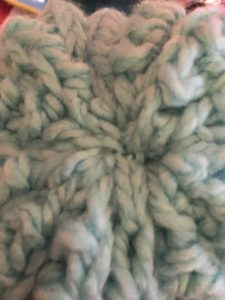
Turn the hat inside out and on the other edge of the piece sew a running stitch around the edge and cinch the hat closed. Tie a knot to keep it cinched and use ends to sew hole shut, if adding a pompom leave an small opening to attach pompom.
You’re all set! Enjoy your hat!
Please do not copy or redistribute pattern in any part, just link directly back to my site – https://www.zebramomhm.com
Feel free to sell any products made with this pattern but do not use my pictures for marketing.
Copyright Bethany Pattie 2019.

